"Too much reality in a picture is always a disappointment to the imaginative soul. We love suggestion, not hard fact." John Carlson
There are as many methods as there are artists. As long as it is technically sound, there is no "right" or "wrong" way to work. It is up to each artist to find what method works good for him.
So, here are some of the tools and tecniques that have worked for me......
My Methods
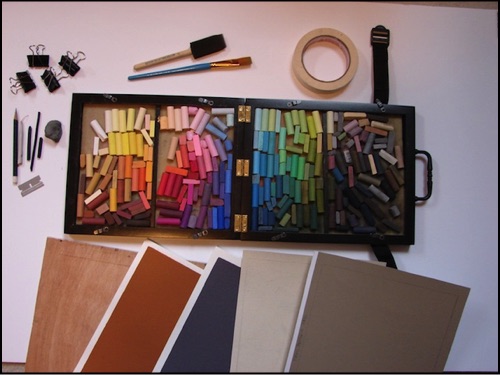
Palette: My palette of colors is made from two inexpensive frames hinged in the middle, so that it will fold closed (two pieces of foam and plexiglass go on top of each side, so that all is held in place without touching when it is closed).
Colors: You can never have too many Colors when you work with pastels. Although you can mix many colors from a few with oils or watercolors, the pastel sticks can be mixed in only a very limited way. The more colors and values you have, the easier it is to approximate the color you see. This is my Plein Air Palette and is greatly reduced to cut down on weight. My studio palette of pastels is at least twice as big. I have mostly Rembrandt, Grumbacher, Sennelier, and a few Schminke pastels.
Pastels
(in the studio)
Supplies and Methods: Always have a small sketchbook with which you can work out composition and values. Mine is only 4"x6".
I paint upright on the same full size easel that I use for oils. I lean the easel forward just a little so that the powder from the pastels will fall off the painting rather than sliding down across the paper and ruining what I have already done. My palette and supplies sit on a table in front of me.
Basic Steps - I usually make 4-5 passes over the whole painting, pausing between each to assess and make decisions about the direction of the painting.
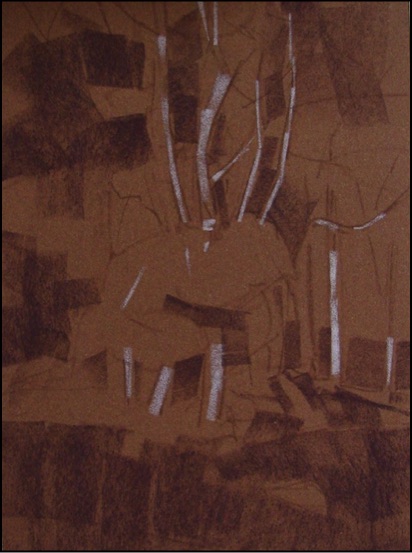
1st pass: On colored, sanded paper I make a quick sketch of basic shapes to establish the design and then use a light and a dark pastel to establish basic values.
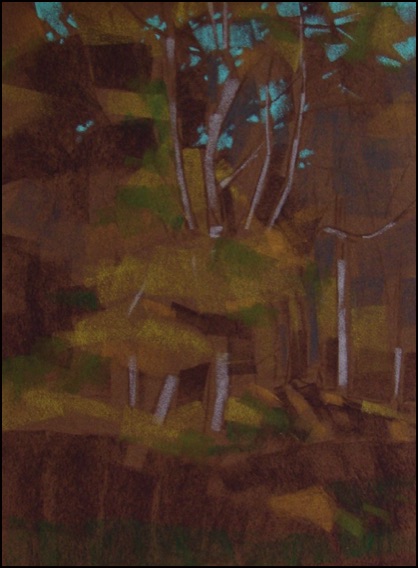
2nd pass: Begin to lay down some basic colors and "punch holes" in the trees to show the sky. Very light touch!
3rd pass: Add new colors for variety and break up the big forms into smaller units. I added a few darks and strengthen the colors in the sky.
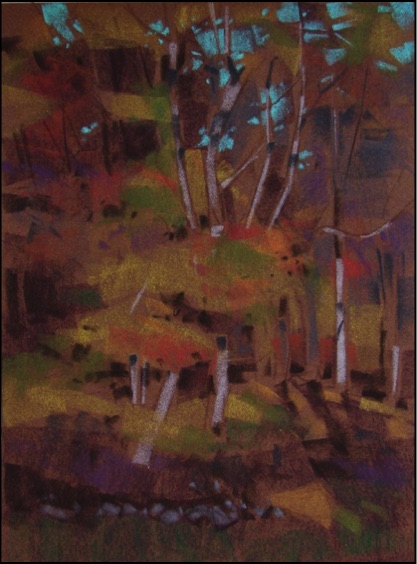
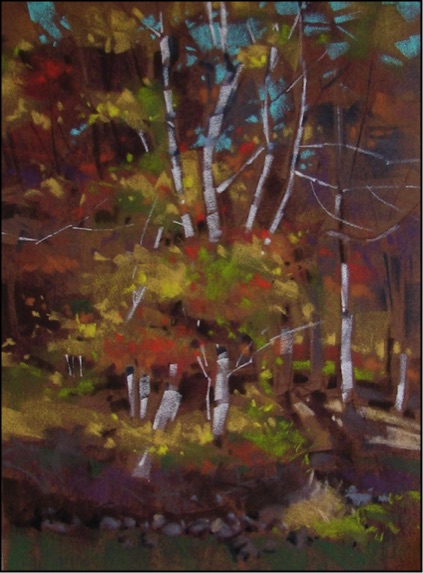
4th pass: Working slowly, I strengthen colors, break up shapes, add more lights and darks. Much of the original ground color still shows through. I could have stopped at this point, but because of the riotous colors and dappled effects of the scene I decided for one more pass.
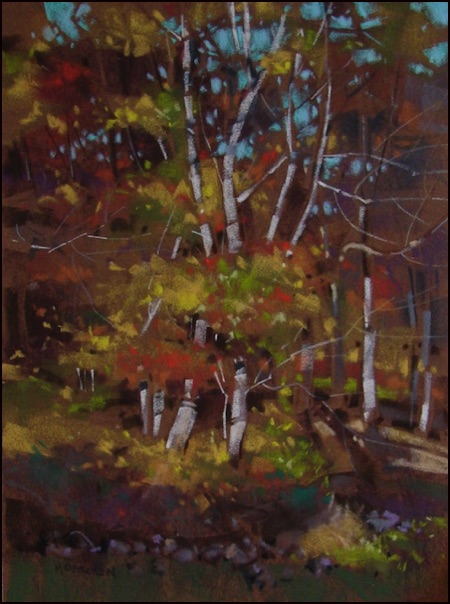
Final pass: After much thought I decided to add more "sky holes" and then some spots of intense color in the trees. Also more twigs fanning out from the trees in both light and dark values.
Starting on the left:
Pencil (2b-4b), tortillon (for blending), vine charcoal for initial sketching, Kneaded Rubber for erasing
Razor Blade to sharpen pencil, or "shave" color from pastel sticks. Clips, Foam Brush, Inexpensive Nylon Brush for blending or brushing off pastel dust.
Masking Tape to tape paper to board. Paper - My favorite pastel papers are the sanded papers like Art Spectrum Colorfix, UArt, and best of all (and almost impossible to get, now) Wallis Sanded Paper.
1/8" Board Make it 2 inches wider than the largest paper you plan to work on.